Start With the Right Artwork File
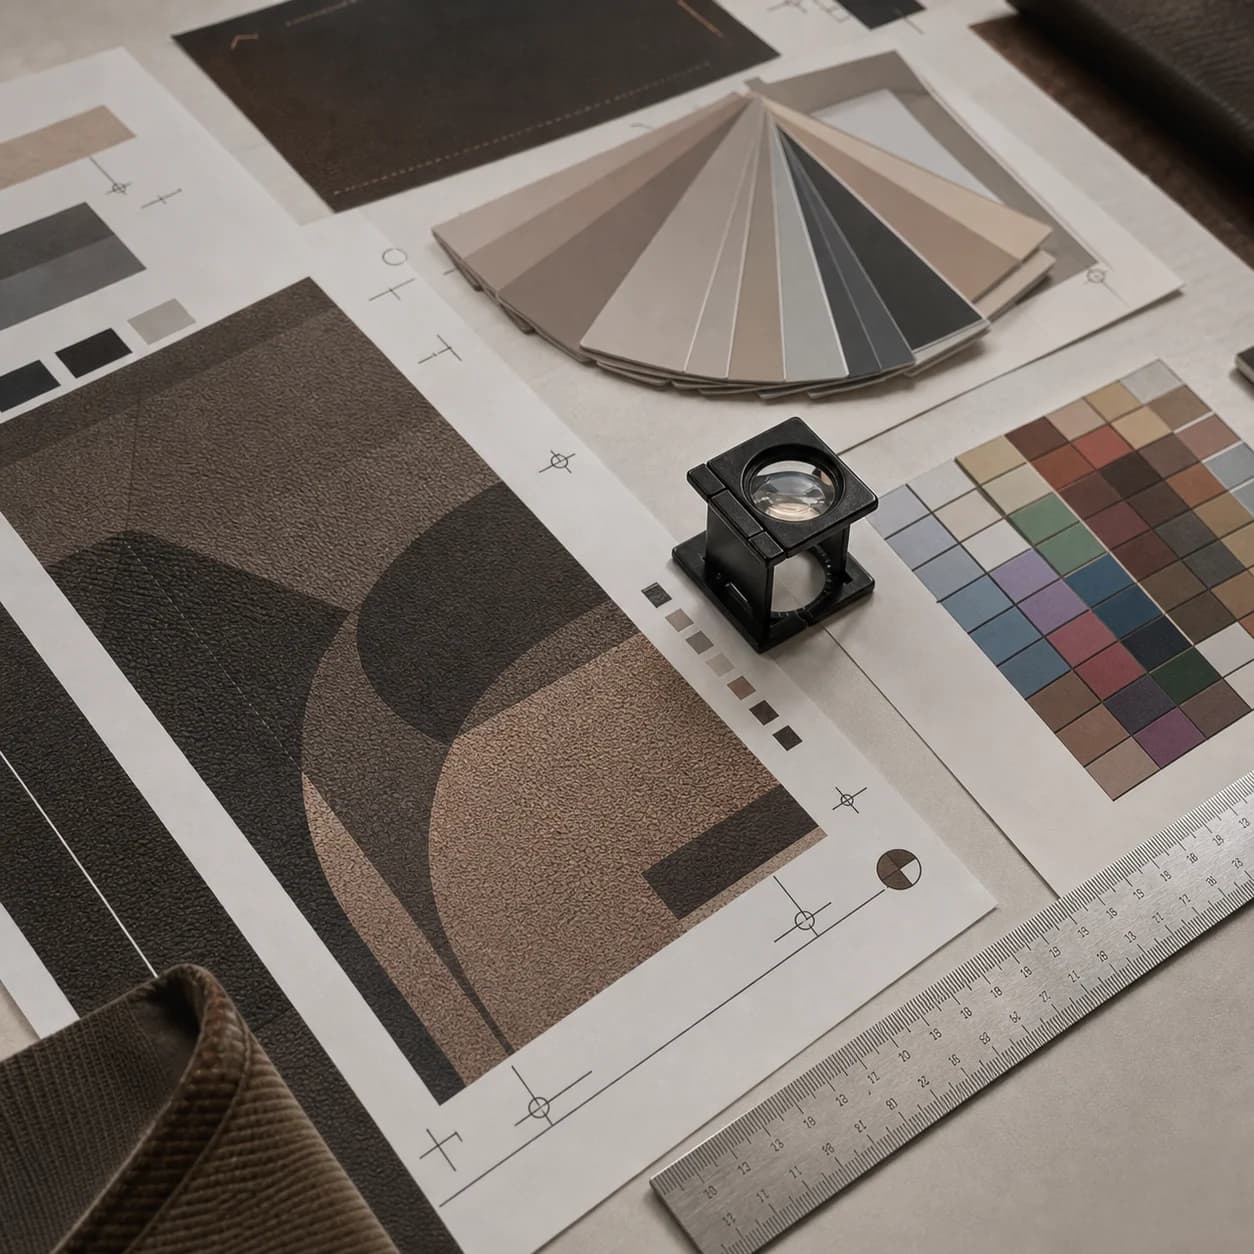
A reliable print-development process starts with a file that can be reviewed at production scale. AI, EPS, PSD, PDF, PNG and high-resolution JPG files can all support an initial review, although the most suitable format depends on how the artwork was created.
Vector artwork is usually easier to resize, separate and adjust without losing detail. Raster artwork needs enough resolution for the final print dimensions. The buyer must own the artwork or hold the necessary rights to reproduce it on commercial products.
The artwork direction may be a seamless repeat, a placement print, an all-over graphic, a logo-led motif or a coordinated pattern system for several products. Defining that direction early helps the development team prepare the right proof.
Review Pattern Scale and Placement
A pattern that works on the front panel of a handbag may become unreadable on a cardholder or feel oversized on a luggage tag. Each product needs its own review of scale, proportion, direction and cutting position.
The review should also account for seams, folds, gussets and hardware. A useful proof identifies where important artwork elements may be interrupted and how the visual rhythm continues across adjoining pieces.
Artwork checkpoints
- Artwork placement
- Pattern repeat
- Cutting lines
- Seam alignment
- Logo visibility
- Small product scaling
Test the Material and Print Response
Digital-printed vegan leather is not one uniform substrate. Texture, thickness, base color, surface coating and softness can change the way a color or fine line appears. These properties also affect cutting, folding, stitching and edge-paint compatibility.
A material test helps assess color response, surface definition, flexibility and the way the print behaves around construction details. Screen colors and physical printed colors may not be identical, so final approval should rely on a physical proof under appropriate lighting rather than a monitor alone.
Material review points
- Texture and thickness
- Base color and coating
- Color response
- Softness and folding
- Edge-paint compatibility
- Stitching compatibility
Develop a Physical Prototype
Once the artwork and material direction are sufficiently clear, a physical prototype brings the visual concept and product construction together. The sample should be treated as an approval tool, not only as a presentation piece.
Measurements and function should be checked against the brief, while the printed panels are reviewed for scale, alignment and visual balance. Any revision should be recorded before the approved sample becomes the reference for production.
Prototype approval checklist
- Dimensions
- Opening and closure
- Pocket organization
- Handle and strap
- Hardware
- Lining
- Logo
- Edge finishing
- Packaging
Build a Coordinated Product Collection
One artwork system can connect products of different sizes when pattern scale and placement are adapted deliberately. A coordinated collection also gives buyers a way to align packaging, hardware, lining and logo hierarchy across the range.
Collection combinations
- Handbag and wallet
- Crossbody bag and cardholder
- Passport holder and luggage tag
- Cosmetic bag and travel pouch
- Wallet and gift box
- Tote bag and small accessories
Information to Prepare Before Sampling
A concise development brief reduces assumptions and helps the team identify missing decisions before materials or sample work begin.
Buyer brief
- Product type
- Dimensions
- Artwork files
- Material
- Quantity
- Target market
- Logo
- Hardware
- Lining
- Packaging
- Delivery date
Continue the development review with Digital-Printed Vegan Leather, Printed Bags, Wallets & Cardholders, Custom Manufacturing, Contact Novlane.